
By SIRMA
Take your vocal mixes to the next level with some of the best plugins on the market.
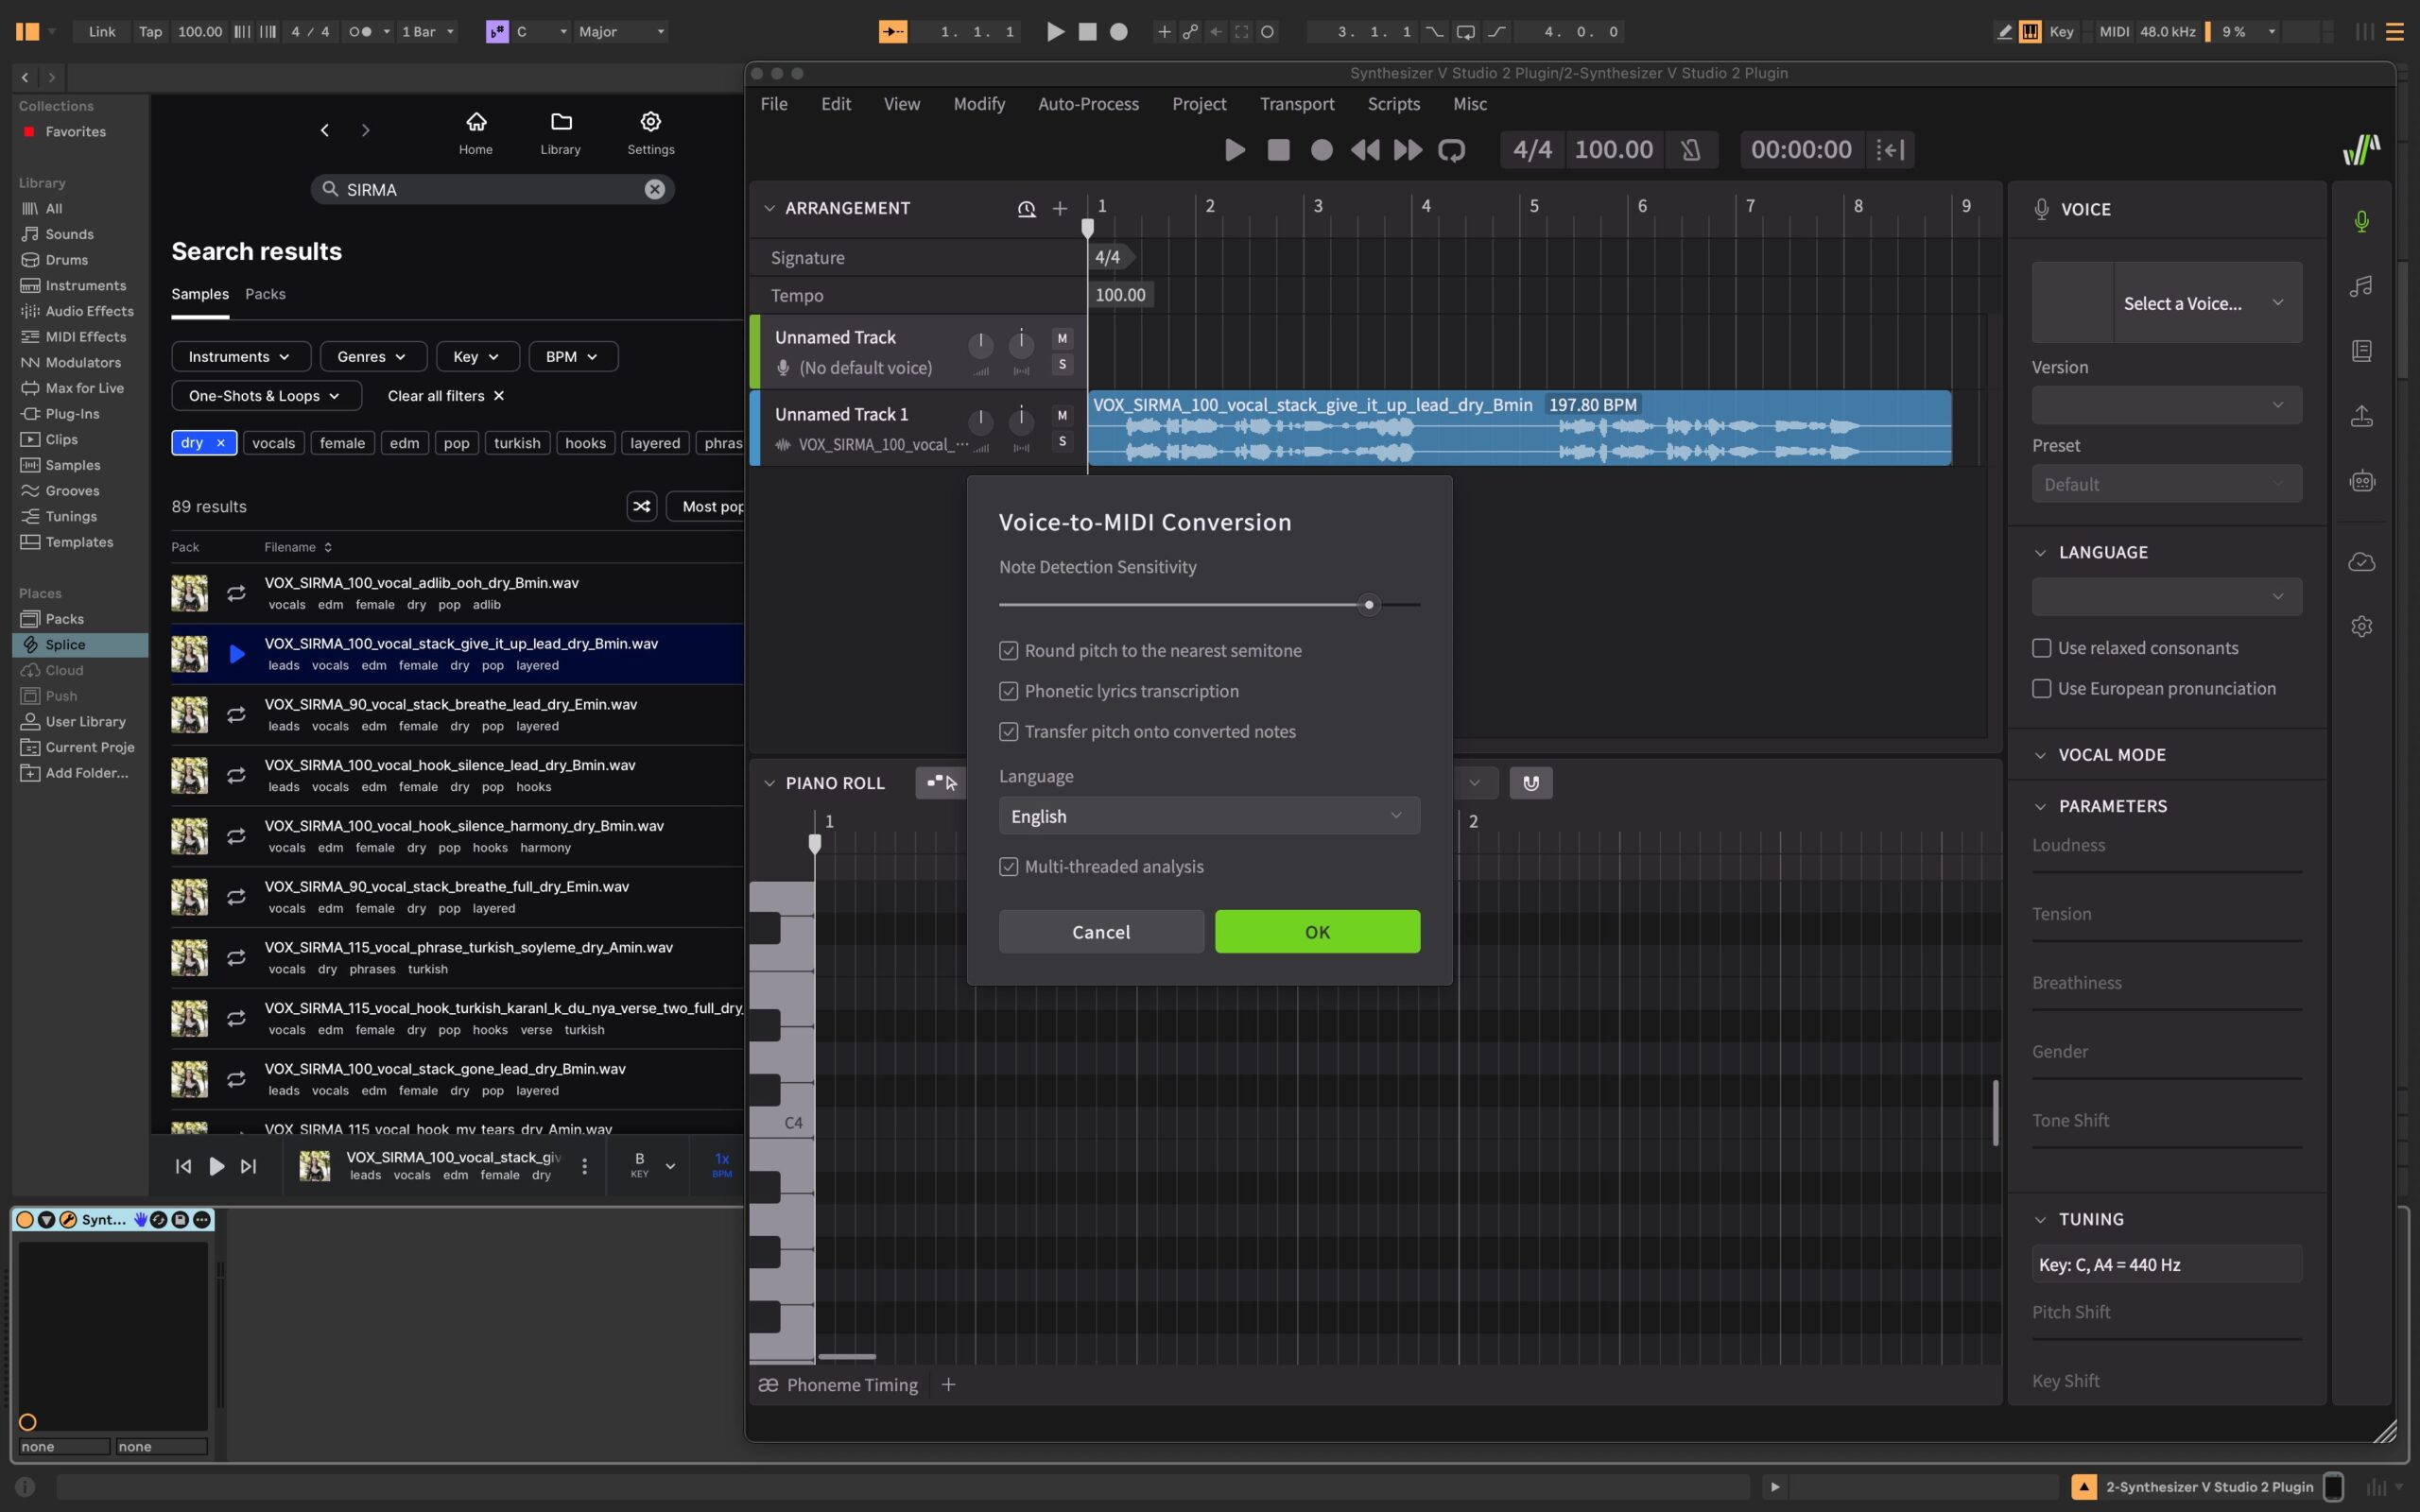
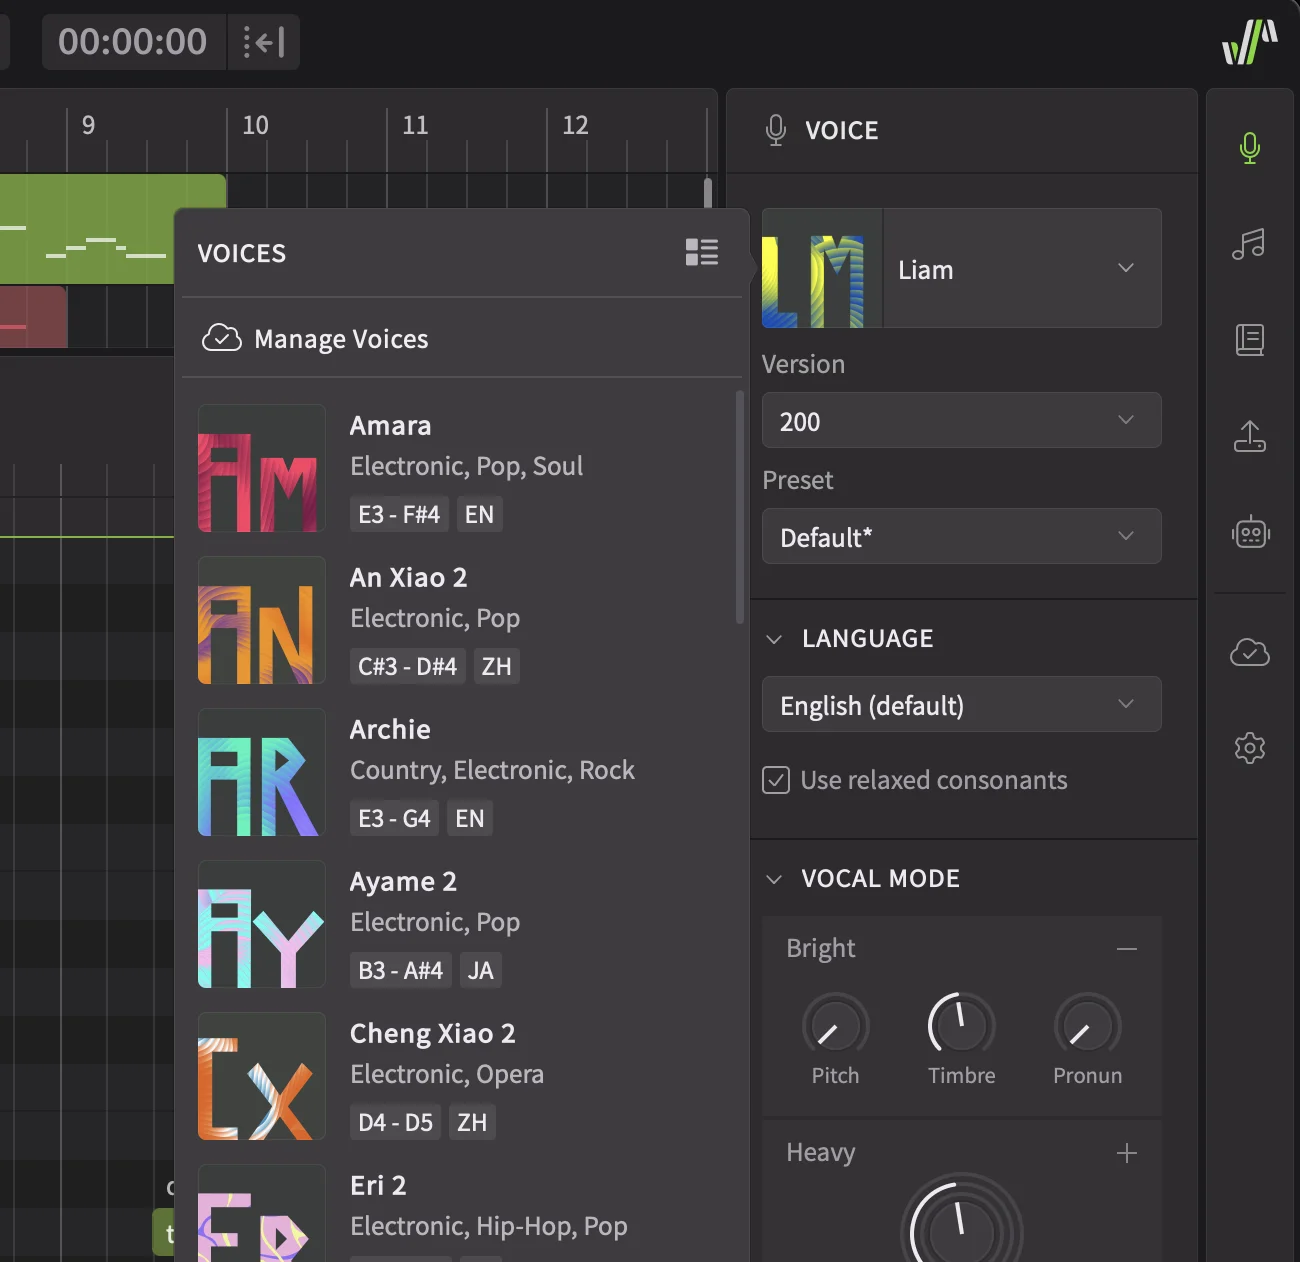
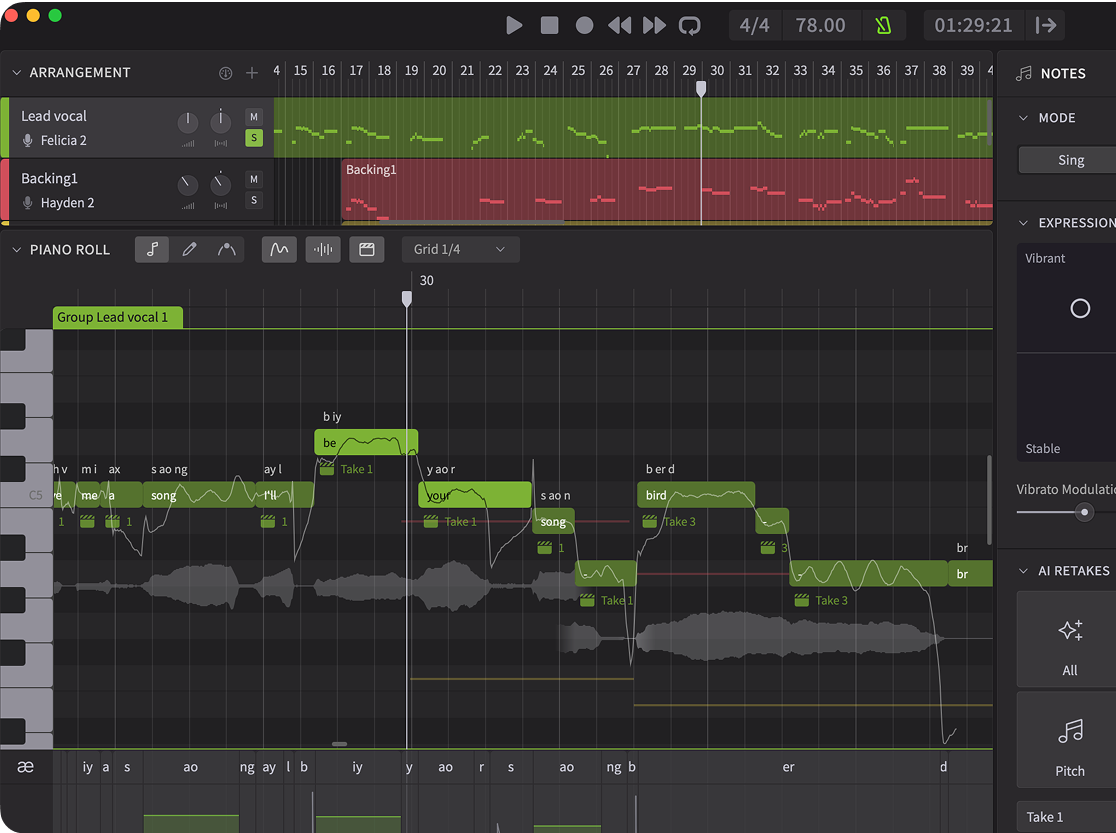
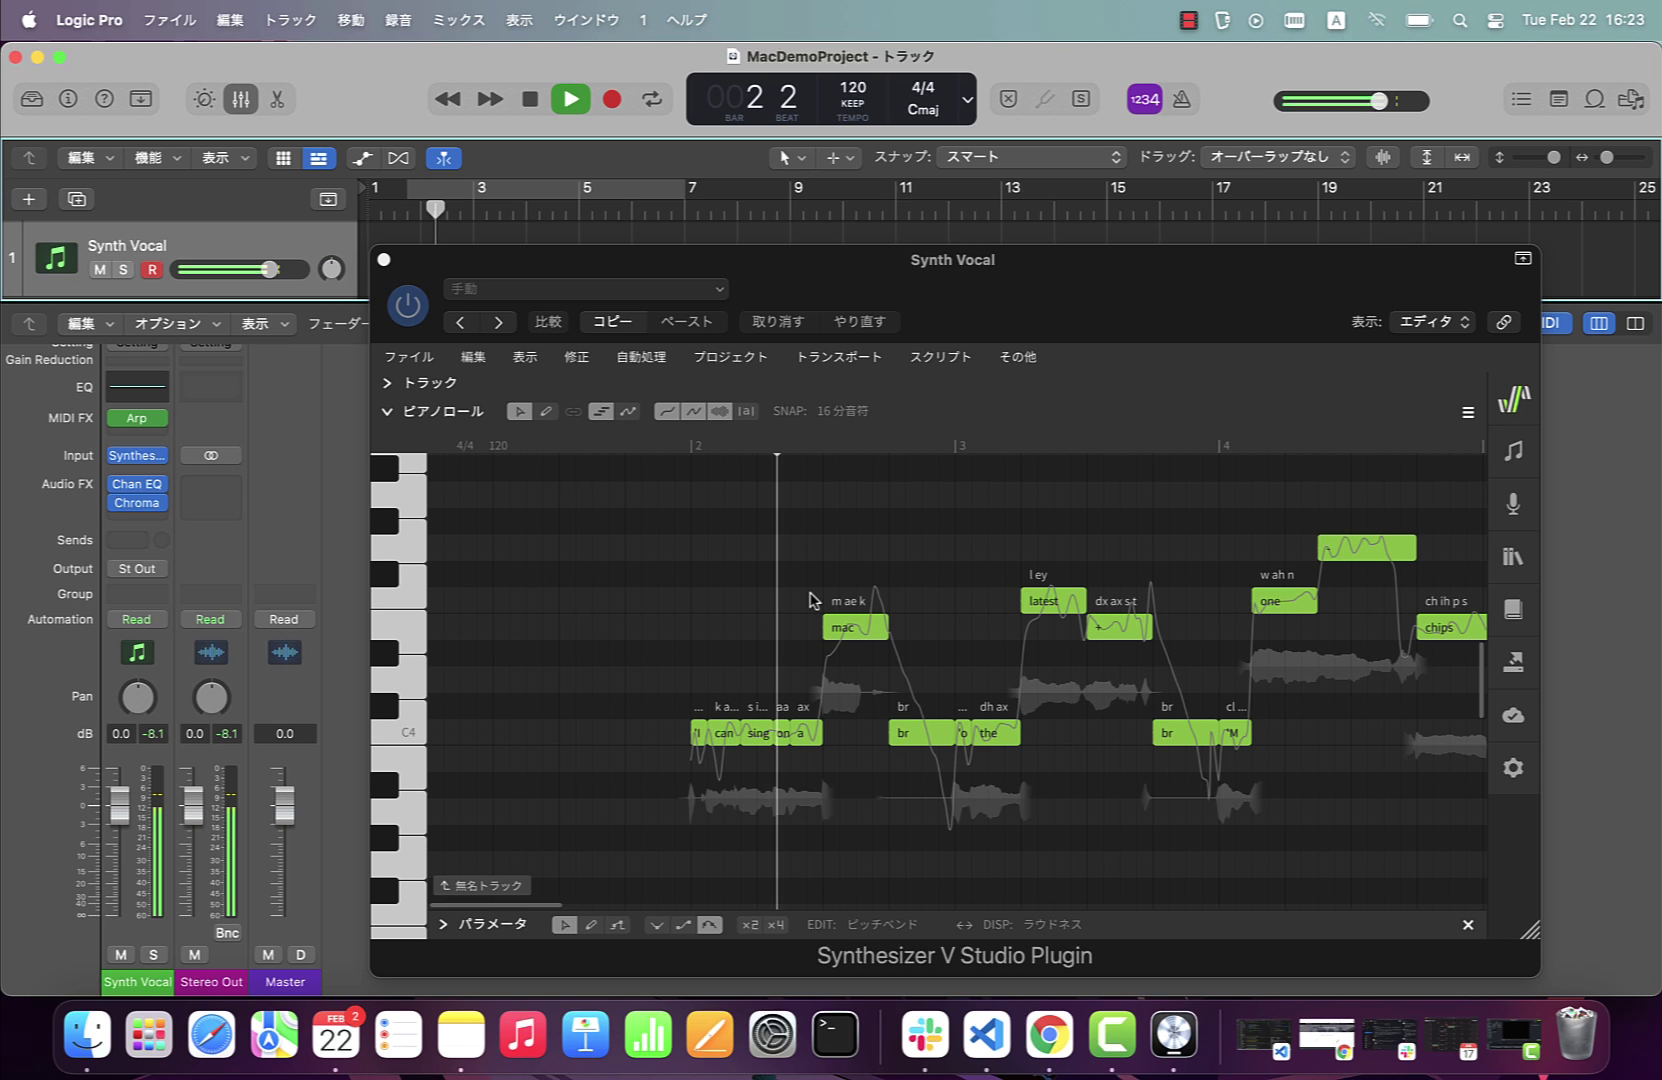
Programmed your dream vocal in Synthesizer V, but not sure how to mix it?
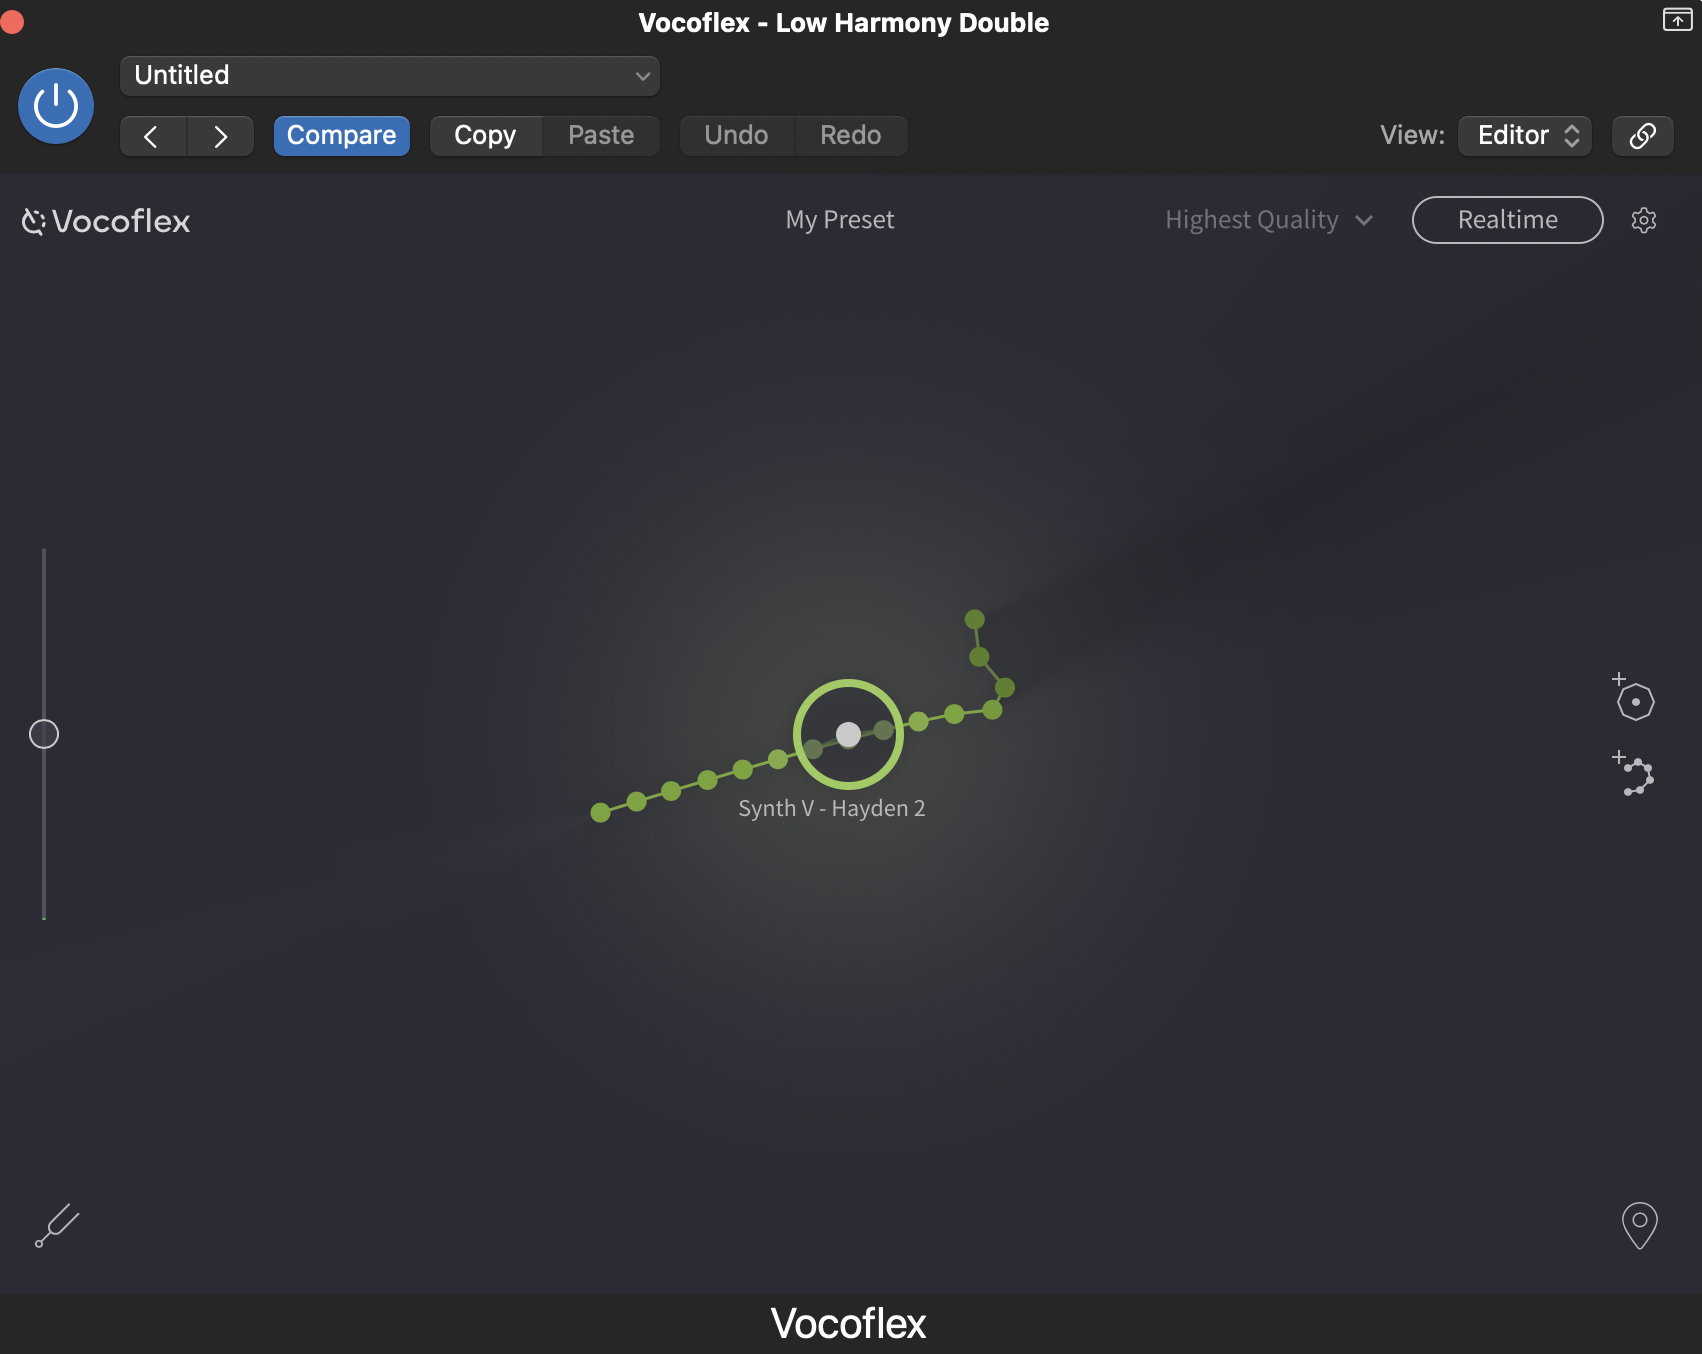
Transformed your voice with Vocoflex and wondering what comes next?
Whether you’re working with AI-generated or recorded vocals, you’ll need a chain of audio effects to make them sit well in your mix. From EQ and compression to reverb and delay, the right plugins can make your vocals sound smooth, balanced, and larger than life.
In this guide, we’ll cover some of the best vocal plugins for music production to help you level up your sound.
Prepare Your Vocal Chain
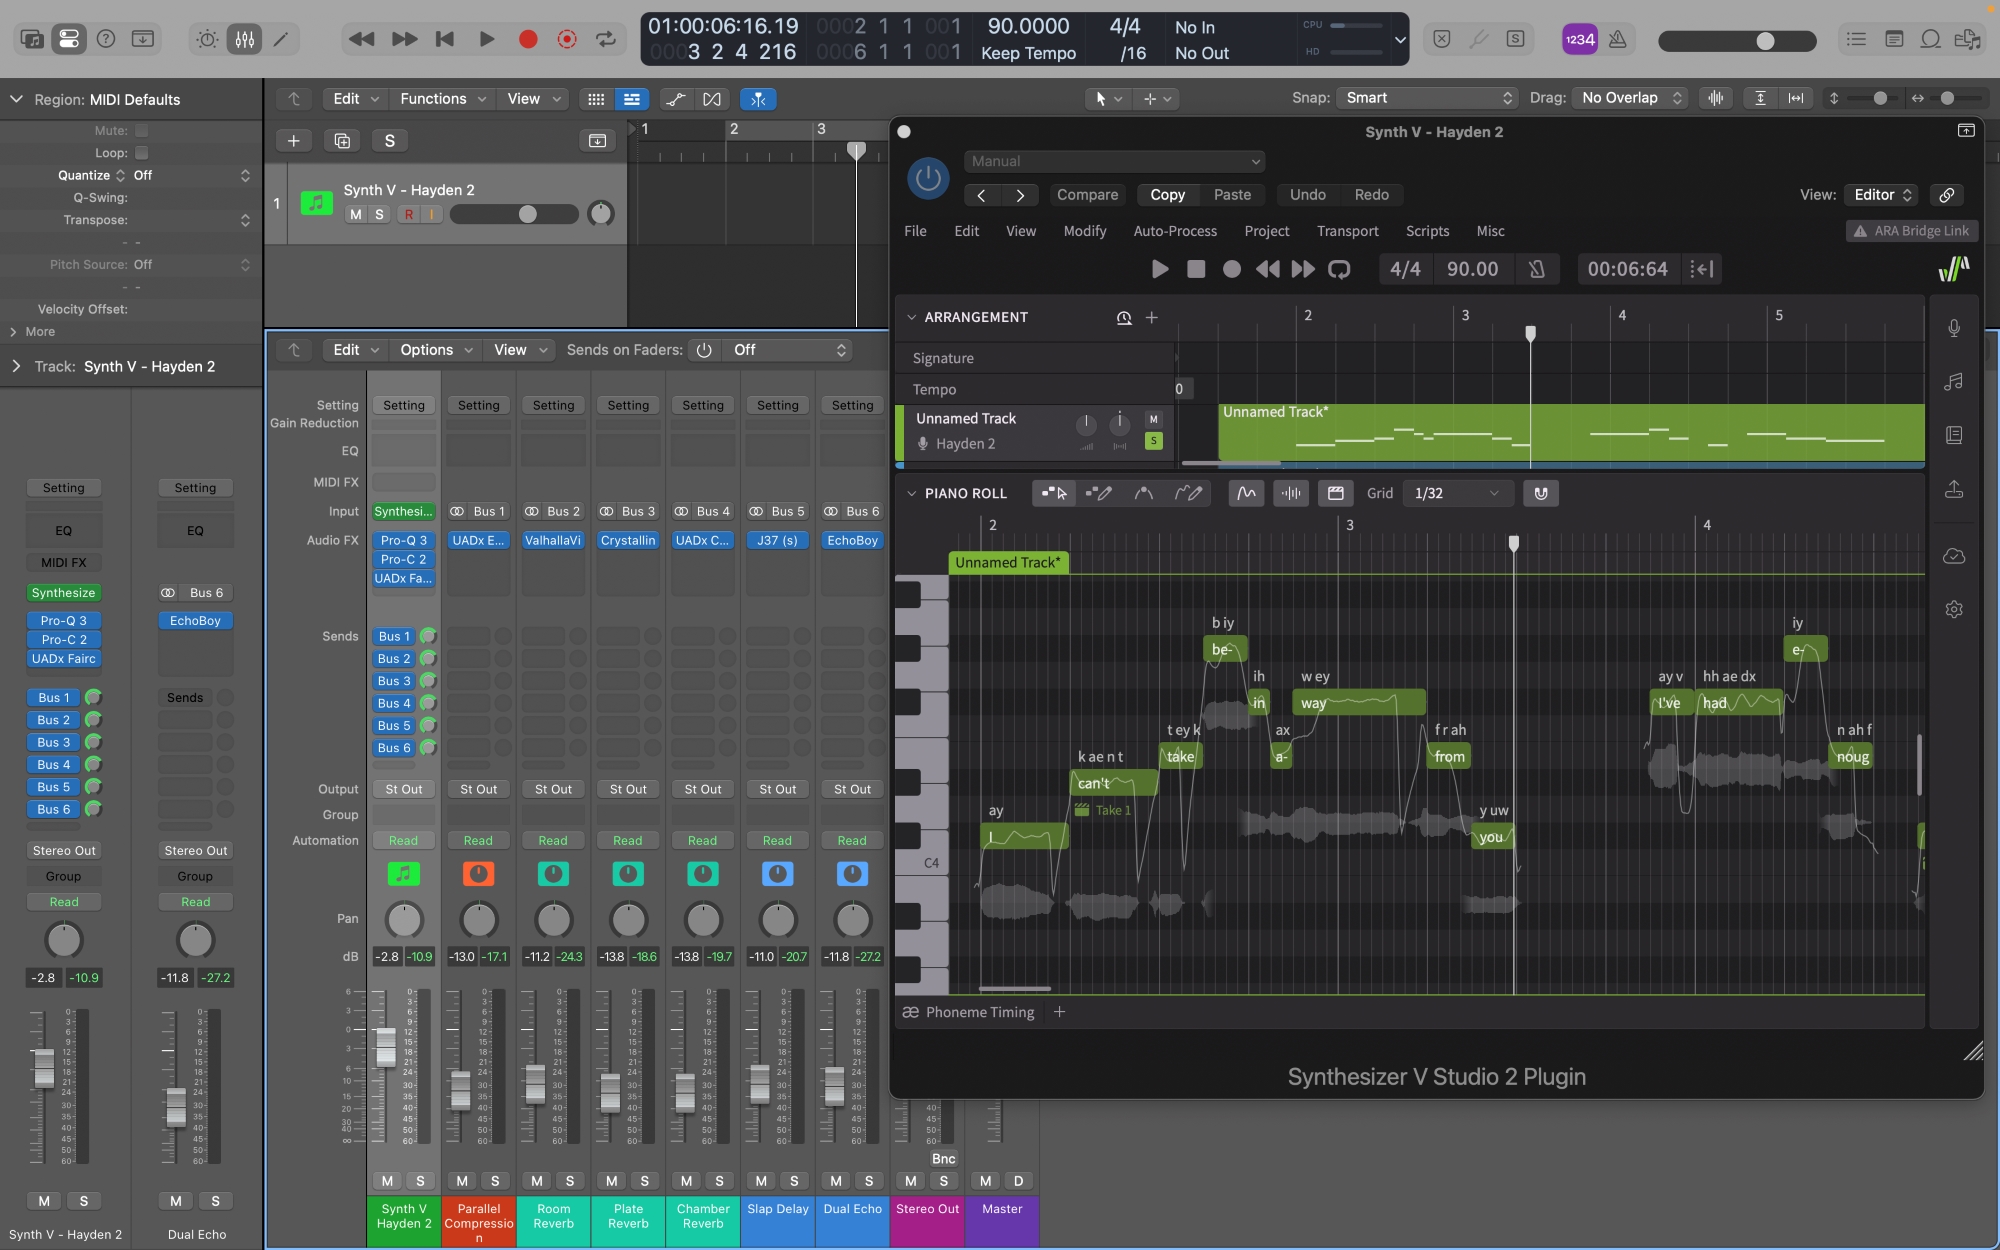
A vocal chain consists of a series of audio effects that balance and polish a raw voice recording. Some effects live on audio or MIDI tracks, while others run through return or auxiliary channels.
Let’s break down the difference between direct and parallel processing.
Direct Processing: The plugins are inserted on an audio channel and applied in full. This is how EQs, pitch shifters, and most compressors are typically used in vocal mixes.
Parallel Processing: The plugins are placed on a return (or aux) channel at 100% wet. This is ideal for time-based effects like reverb and delay. By sending multiple vocal layers to the same return channel, you can make them share a virtual space with little effort.
Mixing a vocal performance with a 30% wet reverb plugin inserted directly on an audio track is technically another form of parallel processing. But you’ll miss out on the CPU efficiency and sonic cohesion that comes from routing multiple vocals through a dedicated reverb return. More plugins require more processing power from your computer. Being economical from the start can make a big difference as your mix nears the finish line.
Many professional producers develop at least one vocal chain template to start any session. Some even keep a library of customized chains tailored to specific artists.
Here’s what a typical pop vocal chain might look like.

Of course, not every production calls for every vocal effect. Intimate records in genres such as jazz, folk, or indie often sound better with minimal processing. But if you want a big and pristine vocal sound for pop, EDM, or rock, a full chain is essential.
Shape the Vocal Tone with Subtractive and Additive EQ
Equalizers are often the most used (and abused) effects in vocal mixing.
Advanced parametric EQ plugins like FabFilter’s Pro-Q 4 let you isolate frequencies and boost or reduce them with precision. Use it in moderation, and you can tame harshness, clean up muddiness, or eliminate overpowering resonances. Take it too far, and you risk sucking the life out of your voice.
Because Synthesizer V produces nearly mix-ready vocals, you often won’t need to apply as much EQ as you would to raw voice recordings.
For example, even when recording an adept vocalist in a great studio, you’ll still want to cut frequencies below 100 Hz to remove rumble and electrical noise. Subtractive EQ like this helps with clarity, but that’s not all EQ plugins are used for.
Depending on your arrangement, some frequency ranges may get cluttered. In a synth-pop song with female vocals, for instance, the high-mids can sound harsh.
Whether you attenuate that register in the synths, vocals, or both is an EQ decision.
Likewise, additive EQ can make vocals sound warmer and fuller in minimal arrangements. A slight boost between 150 and 350 Hz goes a long way.
When it comes to subtractive EQ, it’s best to think like a surgeon. Be precise and don’t cut anything unless you have a good reason.
With additive EQ, take the broad-strokes approach of an impressionist painter. Analog emulations like Universal Audio’s Pultec Passive EQ or Manley Passive Massive EQ are ideal for wide-band, musical boosts.
De-ess, De-breath, De-click
As mentioned earlier, Synthesizer V users benefit from clean vocals right out of the gate. No pesky mouth noises, excessive breaths, or sibilance to deal with.
But most raw recordings will require some attention. You can reduce the volume of breaths and sibilance manually, using audio editing or volume automation. Some DAWs, like Logic Pro, even let you zoom in on the waveform to remove unwanted noises. If you’re racing against the clock, however, you can turn to plugins like FabFilter Pro-DS, Waves DeBreath, and iZotope RX Mouth De-click.
Control Dynamics with Direct and Parallel Compression
When you program vocals in Synthesizer V, you can control the volume of each note with ease. With audio recordings too, you have the option to adjust the gain or volume throughout the performance. And though such tweaks are necessary in any mix, using compression effectively can be a huge time-saver.
There are three ways to compress vocals:
- Direct, serial compression on each vocal track to flatten out volume fluctuations.
- Direct compression on the vocal bus to glue multiple layers together.
- Parallel compression, typically through a return channel, to add body and presence to the mix.
Want to control the dynamics in a single vocal performance?
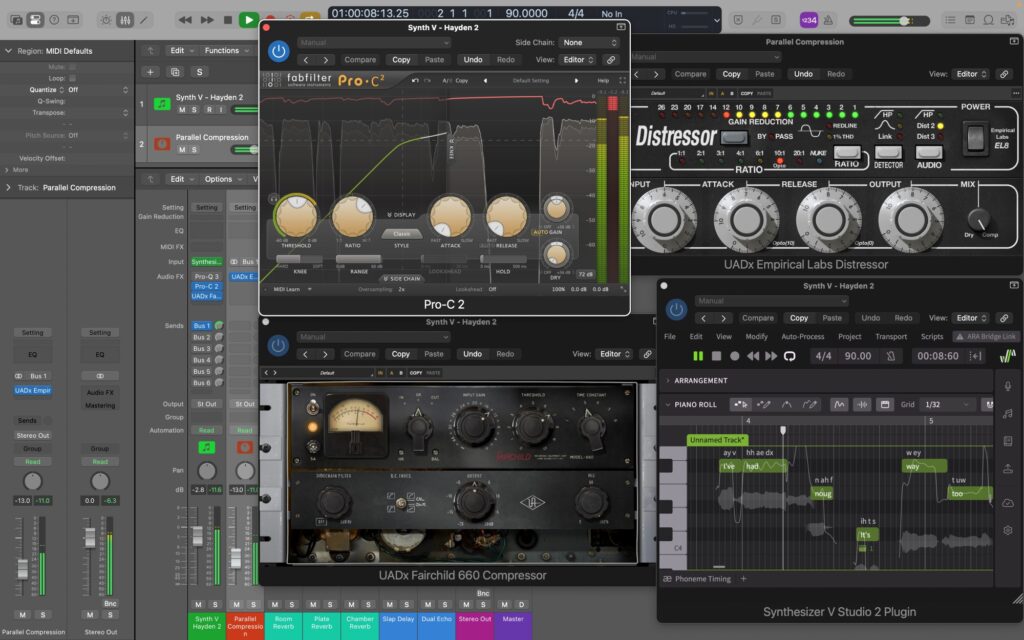
First, add a transparent compressor like FabFilter Pro-C 2, with fast attack and release settings. Bring the ratio somewhere between 4:1 and 8:1 to catch peaks. The higher the ratio, the more compressed the signal will be. Adjust the threshold until you see a few decibels of gain reduction on the meter. The goal here is to compress only the loudest moments.
Then, insert a smooth compressor like Universal Audio’s Fairchild 660 to gently balance the entire performance. Set the time constant knob to position 3 or 4 for slower attack and release. Tweak the input gain and threshold until you get 1 to 4 decibels of gain reduction throughout the performance. Don’t forget to turn the mix knob up to 100% to hear the full effect.
Opt for less gain reduction in both compressors if the vocal performance is already dynamically consistent.
When mixing a vocal stack, you should also consider adding a compressor to the bus. Another analog emulation from Universal Audio, Manley Variable Mu, works well in compress mode. Bring both the attack and recovery knobs to the middle. Keep the mix knob fully wet and adjust the threshold until all the vocals sound tighter together.
As for parallel compression, UAD’s Empirical Labs EL8 Distressor may offer the control and color you’re looking for in one package. Try the opto mode and pick distortion 2 or 3 to add harmonic excitement. Adjust the attack and release times based on the flow of the vocal performance as you blend the distressed signal into the mix.
Multiple stages of compression can be confusing, so here’s a visual aid to help you figure it out.
The order in which you apply each effect will have an impact on the mix. But there are no hard and fast rules. Some producers apply EQ before compression. Others compress before adding EQ, de-esser, and other plugins to their chain. It’s always best to experiment with the order of serial processing to find what suits your needs best.
Build the Atmosphere with Reverb
No vocal production is complete without reverb. Even in the driest vocal mixes, there’s usually some short room reverb adding subtle dimension. And in ethereal productions, one type of reverb is hardly ever enough. Luckily, you can always build a customized space of your own.
First, consider how big the space needs to be. Do you need dark and long reverberations? Maybe a chamber or hall reverb should be your starting point. But such a long reverb setting on its own may sound too distant from the dry vocals — so, why not close the gap with room, ambience, and plate reverbs?
By combining short and small reverb settings with longer and larger ones, you can control the relationship between the vocals and the space they reverberate in.
The first layer of reverberations can come from a small room with a short pre-delay and decay time. The second layer can be incorporated in the form of a plate with a longer pre-delay and decay. The third, atmospheric layer can be the most distant and biggest in size, with even longer pre-delay and decay times.
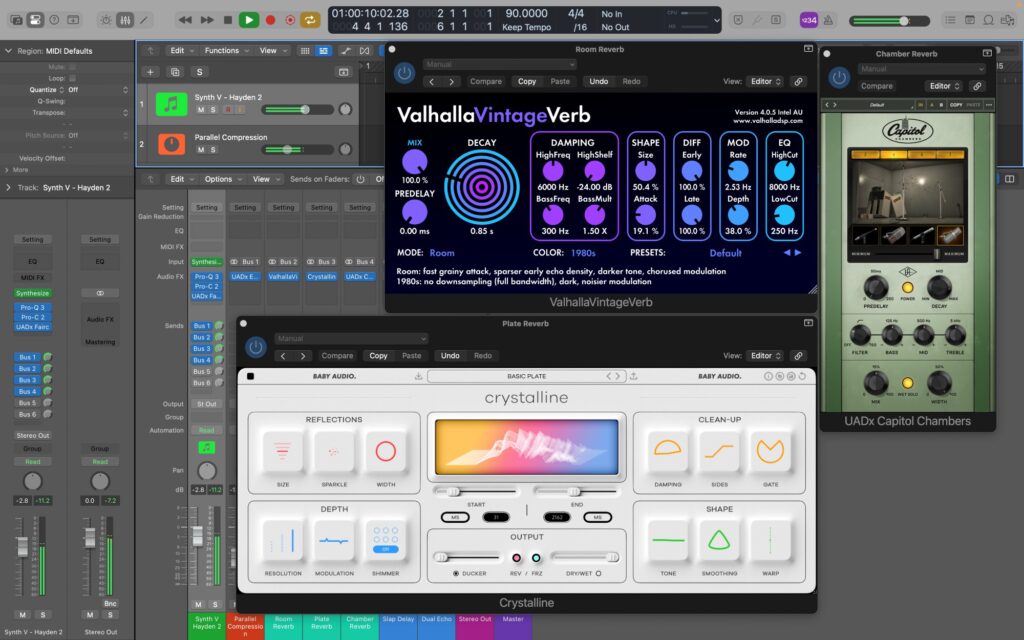
To experiment, you’ll need to get your hands on multifaceted reverb plugins, such as Valhalla VintageVerb or Baby Audio Crystalline. They both contain a multitude of parameters and presets. But you shouldn’t overlook companies that offer accurate digital versions of real spaces either. LiquidSonics’ Lustrous Plates and UAD Capitol Chambers are two popular choices in this realm.
Want to add a touch of realism to a Synthesizer V vocal performance? Try reverb settings that model the acoustics of concert halls, rooms, and chambers. For ambient Vocoflex textures, get creative with modulating and shimmering reverbs.
Placing each reverb into a separate return channel at 100% wet is an easy way to control the volume of varying reflections. This way, you can also decide which vocal layers you want to sound wetter compared to others.
Start with the lead vocal, then send the background vocals to the reverb channels gradually until you achieve a homogenous blend.
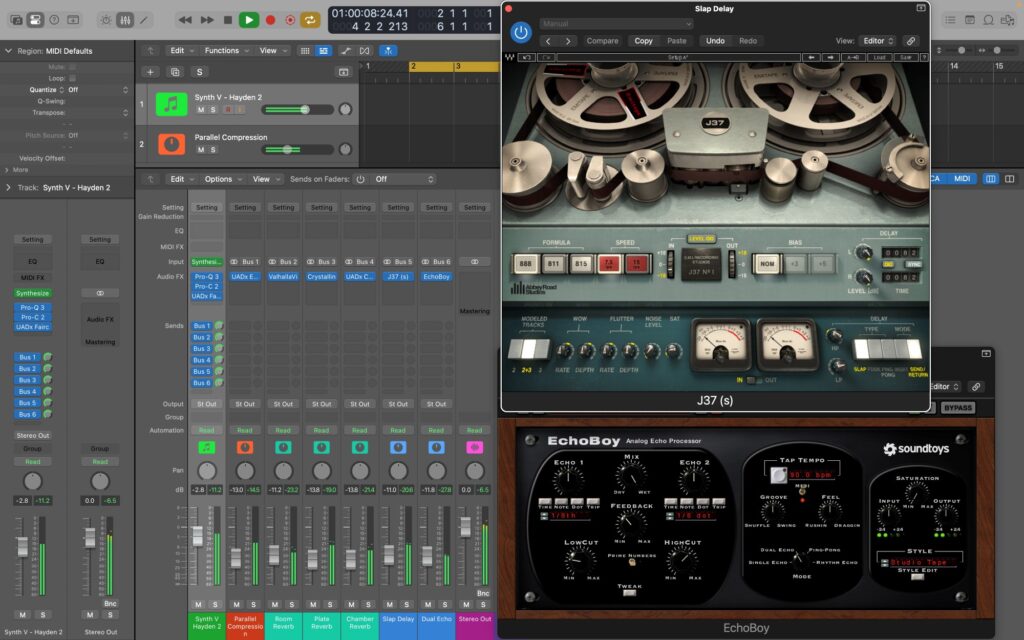
Deepen the Mix with Delay
In vocal production, reverb and delay go hand in hand. In its shortest form, a slap tape delay can enhance the width and density of vocals. When tempo-synced, a stereo or ping-pong delay can add a bouncy feel to and connect the phrases in a vocal mix.
Try building the vocal echoes one by one. For a slap delay effect, Waves’ Abbey Road J37 Tape is a solid option. This type of delay works best when you adjust the delay time in milliseconds.
Next, insert a versatile delay like Soundtoys EchoBoy on a separate return channel. In dual echo mode, turn the MIDI switch on to tempo-sync the delay effect. Then, pick one or two note divisions, like 1/8 and 1/8 dotted, and turn the feedback up for multiplying echoes that fade over time.
You can also embellish your vocals with delay throws. This is a common technique to highlight certain lyrics or melodies in the lead vocal. The easiest way to work an effect like this into your mix is to duplicate the lead vocal performance and extract the moments you want affected. Plugins that have saturation and filter settings, like Waves H-Delay or Native Instruments Replika XT, make good choices for delay throws. In ping-pong mode, pick a longer note division like 1/4 or 1/2, cut the low and high frequencies to create a bandpass, and color the echoes with analog settings.
Get Creative with Additional Vocal Effects
These are the bare bones of any professional vocal mix, but that doesn’t mean you can’t explore what else is out there.
With a chorus effect like TAL-Chorus-LX, you can subtly widen your vocals. It’s a useful mixing tool, but it can also be a signature effect in a vocal production that’s reminiscent of the ‘80s.
A distortion plugin like Softube’s Saturation Knob can dress indie rock vocals for a soundscape filled with electric guitars. Use it lightly to enrich and brighten vocals, or push it over the edge for an aggressive momentary effect.
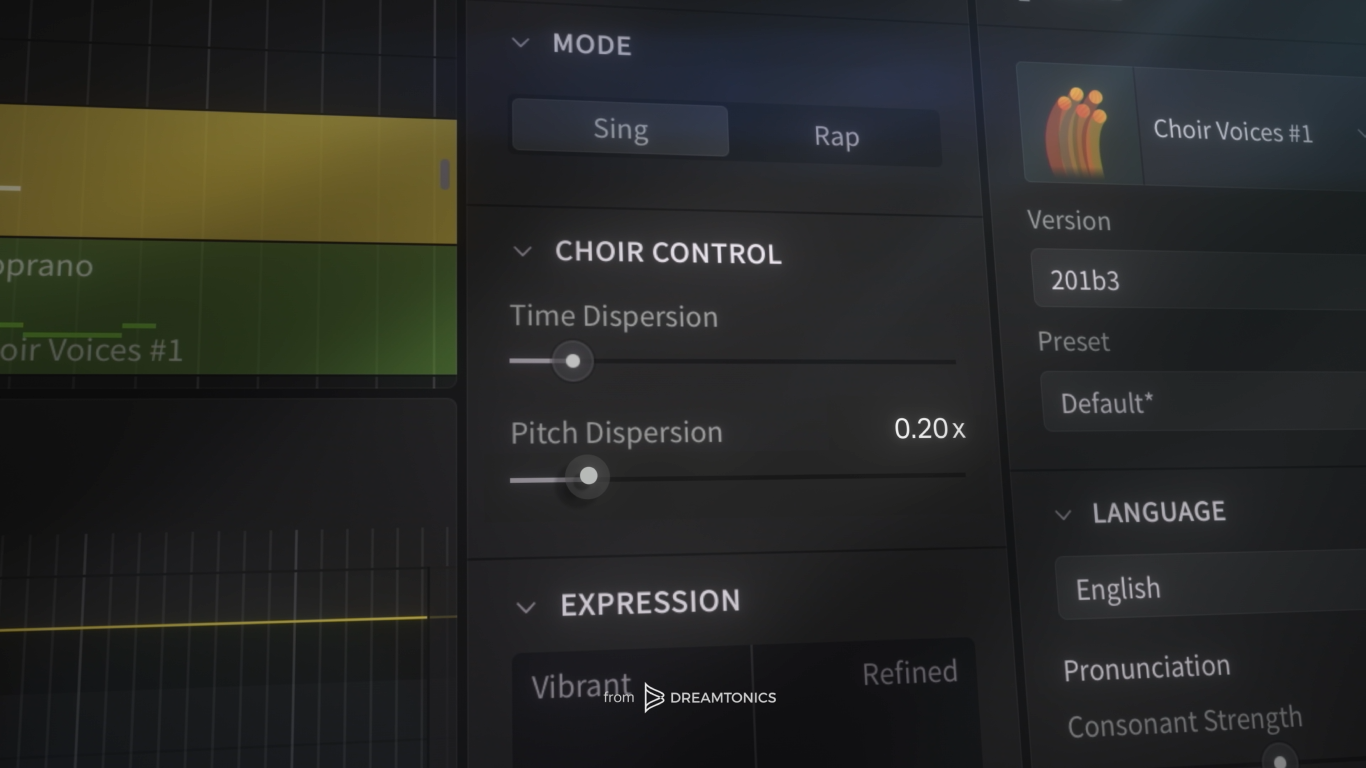
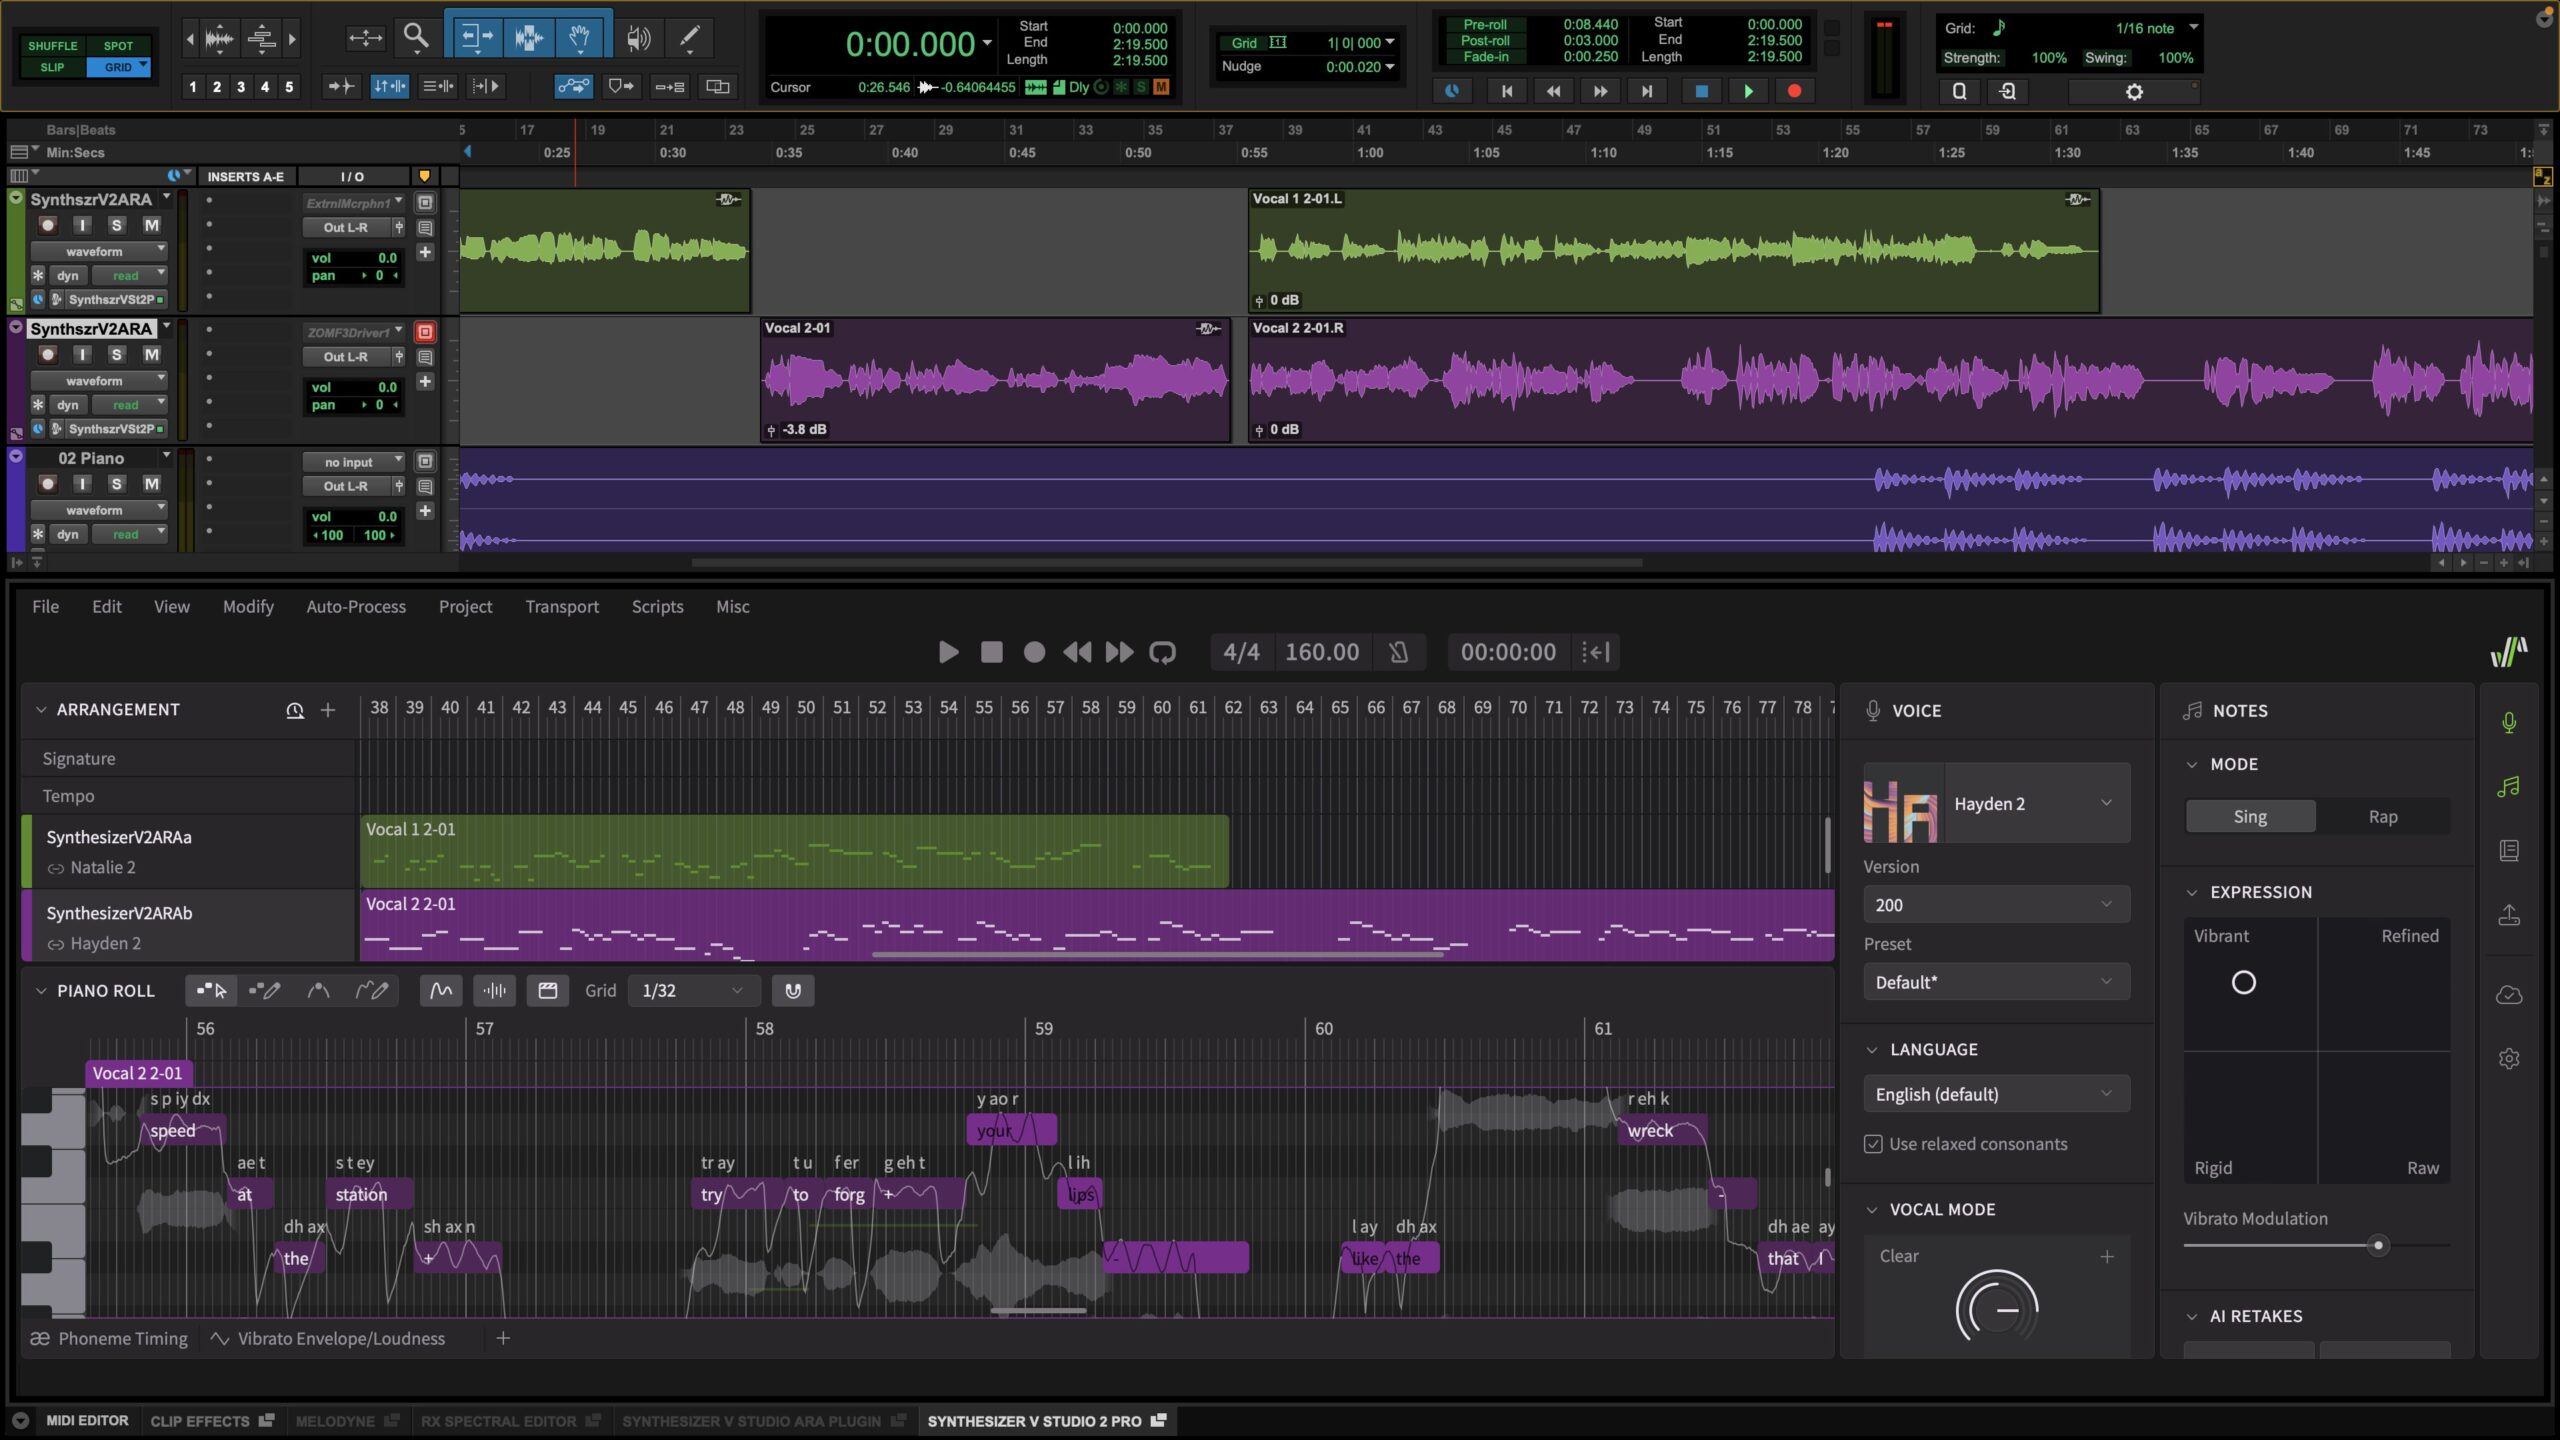
Dreamtonics’ Synthesizer V Studio 2 has a flexible Tuning Panel that lets you adjust the amount of pitch correction on each note. But for moments when you’re working with raw voice recordings, you can achieve a hard-tuning effect with Antares’s AutoTune Pro 11. In genres like hyperpop and trap, this is an essential creative effect.
Voice alteration tools like Vocoflex are also useful to keep listeners on their toes. By momentarily transforming the timbre of the lead or background vocal layers, you can create an engaging arrangement. This type of strategy can be key to implementing catchy taglines at the beginning of a song, like the formant-shifted one in the KPop Demon Hunters soundtrack, “Your Idol”.
Although DAWs come equipped with plenty of stock plugins, venturing out can help expand your sonic palette. Set some time aside to practice, and soon you’ll be making sounder mixing decisions than ever before.
Ready to start your vocal production journey? Start composing with Synthesizer V Studio and transforming your voice with Vocoflex today!